Searching for how to make PVC wall panels usually has nothing to do with melting PVC powder in a garage. A genuine PVC wall panel is produced by extrusion through a precisely designed die, and that process cannot be duplicated at home or on site. What you can do, with normal joinery tools, is fabricate a finished panelled wall from manufactured board or plank. That means controlled layout, clean cutting, and a fixing method that respects the natural movement of PVC.
This guide explains the sequence from a manufacturer’s perspective. It covers where PVC wall panels demand the highest attention, the surfaces that will make them fail, and how to get a tight, flat-looking finish on the first attempt.
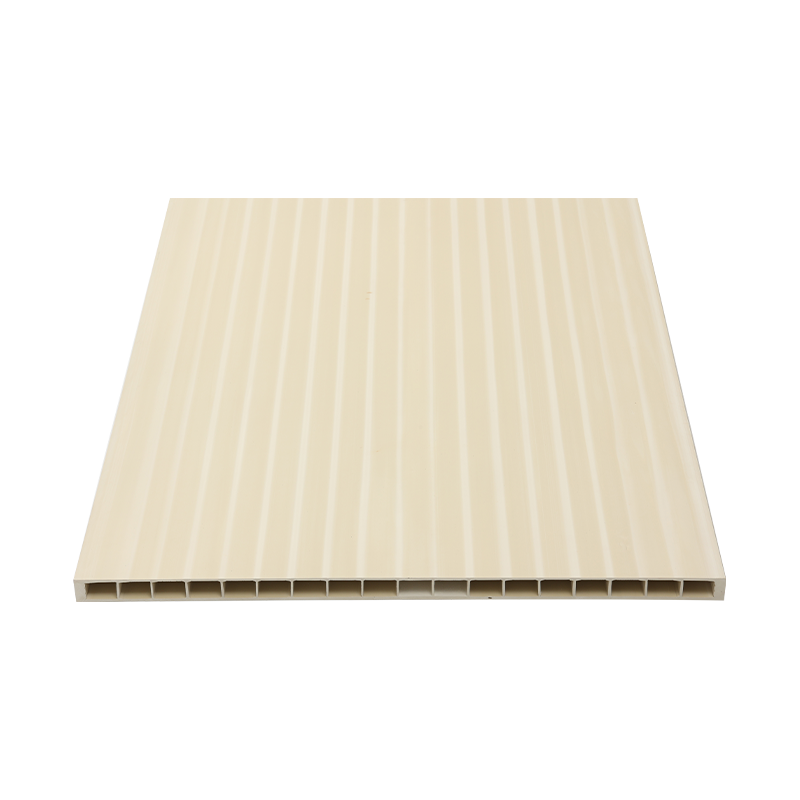
Choose the material before you measure in detail. Narrow interlocking cladding panels are made for walls that are reasonably flat and for vertical surfaces with normal humidity. Flat rigid boards work better when you want a seamless, full-height wall look. In shower rooms, insist on a panel with sealed edges and a consistent thickness so the adhesive can key properly to the back face.
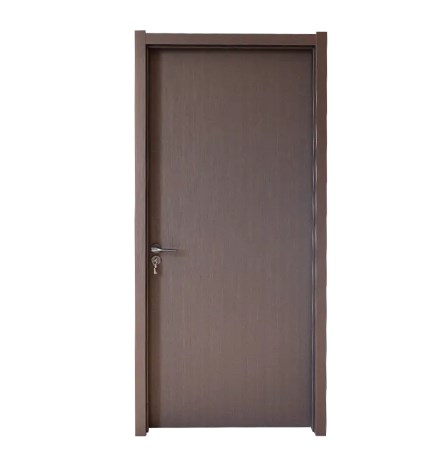
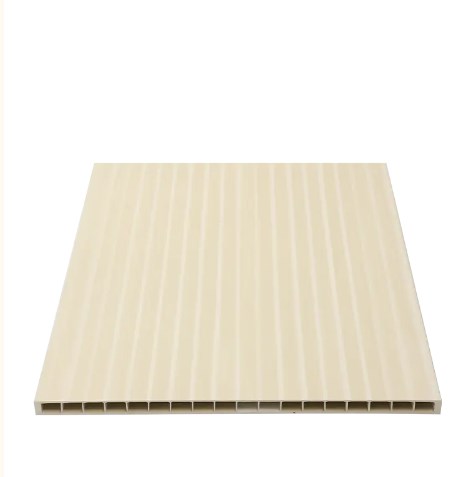
One practical route is to use a factory-made rigid UPVC partition board for a low-maintenance interior wall. It behaves predictably when cut, does not absorb water, and can be fixed directly to a sound substrate with adhesive or screwed to battens. Keep every joint tight, and remember that PVC expands more than wood when the room warms up.
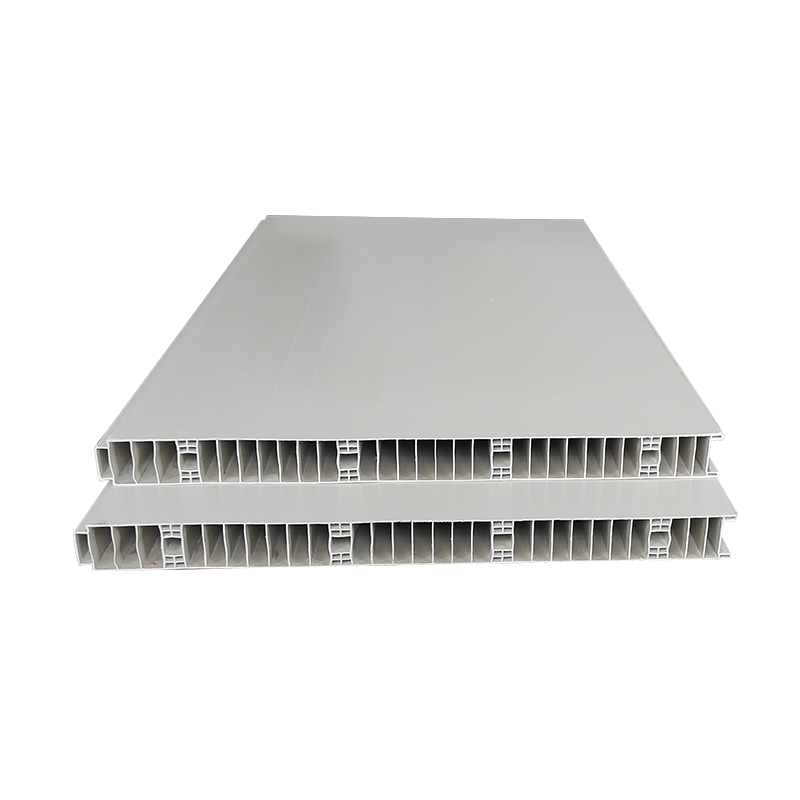 Custom OEM/ODM Waterproof UPVC Partition Board Manufacturers, CompanyJiangyin Gwing Technology Co., Ltd is China Custom Waterproof UPVC Partition Board Manufacturers and OEM/ODM Company UPVC partition board...View Product →
The first panel determines how the entire wall looks. Start at a corner that will be seen first, and let the last narrow piece land in the least visible corner. If the first panel is not vertical, every following panel carries the same error.
When several panels meet along a long wall, stagger the joints by at least 300 mm. This reduces the chance of long vertical lines catching light and makes the wall look more intentional.
A PVC panel will not flatten a wall. It simply follows the shape of whatever is behind it. The most reliable result comes from a substrate that is clean, sound, and free of dust and grease.
For walls that are badly bowed, timber battens screwed to the wall and shimmed level are a better choice than a thick layer of filler. Battens also give you a guaranteed location for screws or clips, which matters in wet areas where moisture can weaken adhesive over time.
Cutting is where most first-time installations reveal themselves. PVC does not splinter like ordinary wood if you use the correct blade and support the sheet while cutting. A fine-tooth saw blade or a jigsaw with a clean-finish blade is usually enough for panels up to 10 mm thick.
Mark the cut line on the front surface with a soft pencil and a straightedge. Cut from the front side so any minor edge break remains on the back. For rectangular cut-outs such as sockets, drill a small starting hole in the waste area, insert the jigsaw blade, and cut along the marked lines. Sand the cut edge gently with fine abrasive paper to remove burrs, then seal it if the cut edge will be exposed to moisture.
Do not force a wet cut with water; PVC needs a dry, steady blade speed. Fast feeding creates heat, which can melt the edge and make the panel look rough.
Five small blobs of adhesive may hold a panel for a week, but they leave air behind the sheet and allow flexing over time. A correct installation needs continuous contact across the board, especially around the perimeter.
Apply a high-strength construction adhesive in serpentine lines along the back of each panel, with extra beads close to all edges. Press the panel onto the wall and work a clean, straight-edged block across the face to push out trapped air. Wipe away any adhesive that squeezes out before it hardens, because cured adhesive is difficult to remove from the smooth surface.
On a batten frame, the method changes slightly. Fasten the panel along the rebate or flange at each joint, keeping the screw spacing at 300 mm to 400 mm. Never overtighten screws in PVC; the goal is to hold the panel firmly, not to pull the material into a curve.
Position the first panel against the corner datum and leave a small gap for expansion. Check the face with a spirit level at the top, middle, and bottom before moving on. Interlocking panels should be pushed edge to edge rather than hammered into place with a metal tool; use a soft-faced block if the joint is stiff.
As each new board goes in, listen for the click of the tongue entering the groove. Run a thumb down the seam after fitting; it should feel flat. If one edge sits high, the problem is usually dust or adhesive in the groove, so clean the joint before pressing again. To make a complete, waterproof surface in a shower area, seal the seams with a neutral-cure silicone after the adhesive has set and the panels are stable.
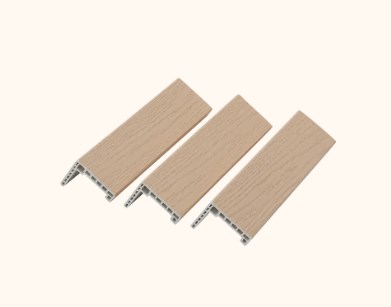
Nothing makes a PVC panel wall look more unfinished than a raw cut edge in a visible corner. Use an internal corner strip or an external edge trim to cover the cut ends, and apply silicone along internal corners so dirt cannot collect there.
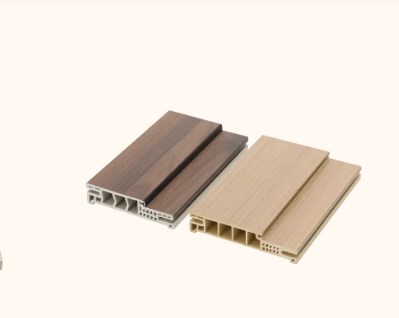
At the bottom of the wall, the expansion gap should be closed with a skirting profile. Instead of a wooden skirt that may absorb water, a moisture-resistant WPC skirting board is a stable option for finishing the gap and protecting the lower edge. Cut it with the same fine-tooth saw method, fit it on top of the panel rather than behind it, and seal the top line with a thin bead of silicone.
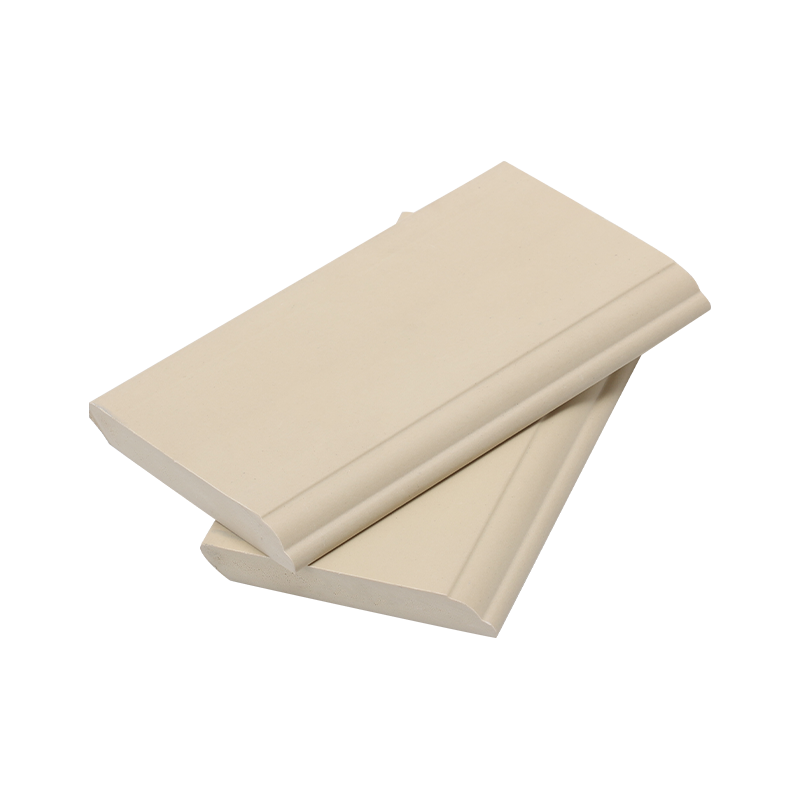 Custom Waterproof WPC Skirting Board Manufacturers, CompanyAs China Custom Waterproof WPC Skirting Board Manufacturers, Company, JiangYin Gwing Technology Co. Ltd Offer OEM/ODM Waterproof WPC Skir...View Product →
Most failed PVC panel walls are caused by an uneven substrate, missing expansion allowances, or poor edge sealing. The following table summarises the situations that tend to appear during installation.
| Problem | Usual cause | What to do |
|---|---|---|
| Panel looks wavy on a flat plaster wall | Adhesive was applied in isolated spots instead of a full bed | Remove the panel, clean both surfaces, and spread adhesive across the full back face before refitting. |
| A joint opens a few weeks after installation | No allowance for thermal expansion | Leave a 2 mm to 3 mm gap at all stops and cover the gap with trim rather than forcing panels tight. |
| Adhesive does not hold on a bathroom wall | Glazed tiles or dusty substrate prevent bonding | Use a batten frame or a compatible primer designed for smooth ceramic surfaces. |
| Water stains appear at the lower edge | Cut edge was not sealed before fitting | Seal cut edges with neutral-cure silicone and keep the floor-area expansion gap protected by a skirting profile. |
Making a PVC wall panel in the practical sense is not about casting plastic in a bathroom. It is about selecting a manufactured board, cutting it cleanly, and fixing it to a surface that will support it for years. If you follow the sequence of material choice, layout, substrate preparation, cutting, fixing, and trimming, the wall will look flat and professional.
As a manufacturer, we have seen projects fail less often because of material quality than because of installation shortcuts. Use a supplier who can state the waterproofing and surface characteristics clearly, keep every cut-out clean, and seal every edge that may become wet.

 English

 English
 عربى
عربى Español